Benjamin Hopfer Software Solutions
Problems and solutions of a freelancing software engineer
Typesetting my Master’s Thesis in LaTeX
by Benjamin Hopfer
When I saw the LaTeX thesis template provided by my department I cringed. It seemed like the only goal of the unknown creator was to preserve paper, completely neglecting aesthetics and readability. Fortunately I was allowed to create my own template.
Problem: Find and adapt a LaTeX thesis template that meets both established and my own aesthetic standards.

A lot of thought has gone into the age old art of typesetting and typography. Although I am very interested in these topics, I’m not an expert. I therefore looked for a good LaTeX thesis template and finally found the classicthesis package by André Miede which is inspired by Robert Bringhurst’s “The Elements of Typographic Style”.
My thesis features a lot of figures that need to be displayed as large as possible. I
therefore defined commands that allow figures to reach into the margin of the page. In
combination with my numerous margin quotes, this is a great trade-off between keeping the
proper page area for readability and providing enough space for wide figures. Having a
floating, multi-picture figure extend to the left on odd pages and to the right on even
pages was no easy task, but I finally managed to define the new commands \bigfigure,
\bigdoublefigure, and \bigtriplefigure. An example of \bigtriplefigure is shown at
the top left of the above image. The code is too long to feature here, if you have any
questions feel free to contact me.
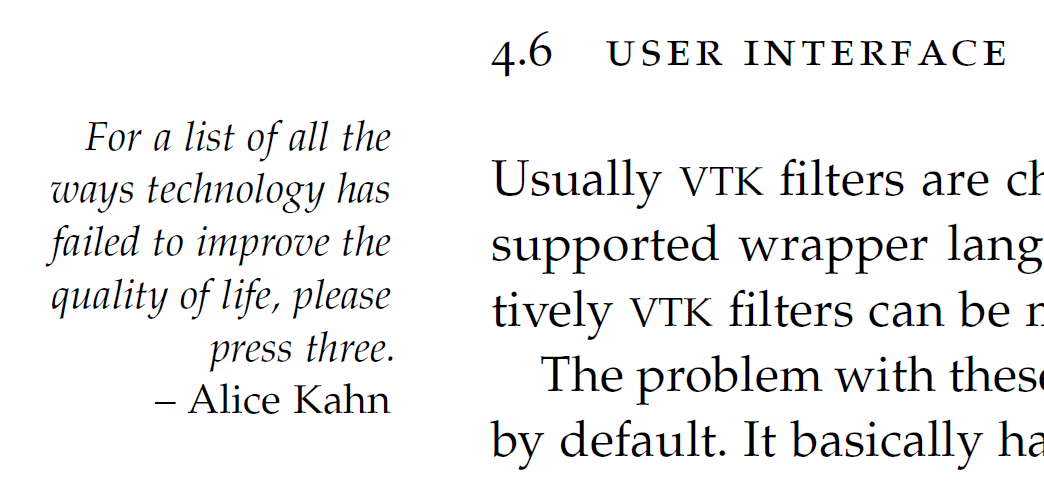
I also made heavy use of the \graffito command for margin notes and quotations. Margin
notes are useful for providing contextual, interesting information that is not important
for the primary content. If something is too insignificant for a footnote, it might be a
good margin note. More frequently however, I used quotations to make the thesis more
lively and less bland. The following command ensures that all quotations look the same.
The first parameter is the quote, while the second is the quoted person.
\newcommand{\quotegraffito}[2]{\graffito{#1\\--~\emph{#2}}}
For more information on the typographic side of my thesis you can read the colophon at the very end of my thesis.
Edit (2015-06-27): Since I repeatedly get requests for actual LaTeX code, I uploaded my
full source code. The code does not
compile with current LaTeX distributions, mainly because of dirty hacks that work around
previous errors in other LaTeX packages. I also did not include the required data and
images with the code. If I were you, I would download the latest ClassicThesis version and
try to incorporate the parts you need from this code. The figure definitions are in
SpecialDefinitions.tex, their usage is all around the source code in /Chapters.
Update 2020-02-26: I’m moving my website to GitHub pages and in the process I’m tidying up the wording of this article and getting rid of the comment section. However, I’m migrating useful old comments onto here as well (anonymized):
tags: LaTeX - typographyB., August 19, 2014 at 17:19:
Hi Benjamin
I would like to make some modifications to the classicthesis template to allow figures to expand into the margin, just like how you have done. I would appreciate some pointers as to how you achieved it. I’ve been using latex for a couple of years but previously I had always stuck with the same basic template. ReplyB., August 19, 2014 at 18:45:
I currently have no time to create a minimal working example. I will copy the according code parts into here. The code is quite complex, because
- firstly, I’m no LaTeX expert,
- secondly, I needed many different configurations (for example triple-figures with sub-captions), and
- thirdly, I wanted to switch between normal figures and big figures (i.e., extending into margin) without changing anything but the command.
What basically happens is that I use the
changepagepackage to determine if I am on the right or left page, and then align aminipagewith my figures accordingly.Usage example for a single figure extending into the margin:
\bigfigure[pos=tbhp,
%width=13.75cm,
label={fig:intro:designprocess-combined},
shortcaption={Resistance graph design process.}]
{intro-designprocess-combined}
{Design process using a few \protect\acs{CFD} simulations (...) to be redone.}
A usage example for a double-figure extending into the margin:
\bigdoublefigure[pos=tbhp,
mainlabel={fig:intro:simple-vector-field},
maincaption={A simple \twoD vector (...)(small blue figure).},
mainshortcaption={Good and poor flow partitions.},%
%leftopt={width=0.47\textwidth},
leftlabel={fig:intro:simple-vector-field-homogeneous},
leftcaption={Good, homogeneous partition.},
leftshortcaption={},%
%rightopt={width=0.47\textwidth},
rightlabel={fig:intro:simple-vector-field-nonhomogeneous},
rightcaption={Bad, inhomogeneous partition.},
rightshortcaption={},
spacing={\hspace{1cm}}
]
{intro-simple-vector-field-good}{intro-simple-vector-field-bad}
These are the underlying definitions, the following packages (and maybe some more?) will be required:
Edit 2020-02: Very long listing of unformatted LaTeX code removed on migration of comment. You can now find it on github starting at line 162.
B., August 20, 2014 at 13:07:
Thanks for sharing your code, I appreciate it. I’ve had a quick play with it and managed to incorporate it into my code (kind of). I still need to do some tweaking but I think I should be able to get it working nicely.Thanks again!